

Key takeaways
- H3 suits above-ground applications; H4 is required close to or in contact with the ground.
- Most deck failures begin in the subframe, especially around joists, where moisture collects.
- Decking thickness and board width affect joist spacing and span.
- Sealing cut ends, using joist tape, and correct fasteners significantly extend a deck’s life.
- Close-to-ground decks need extra care with ventilation, board spacing and moisture management.
- A long-lasting deck comes down to the right products in the right locations, built without rushing.
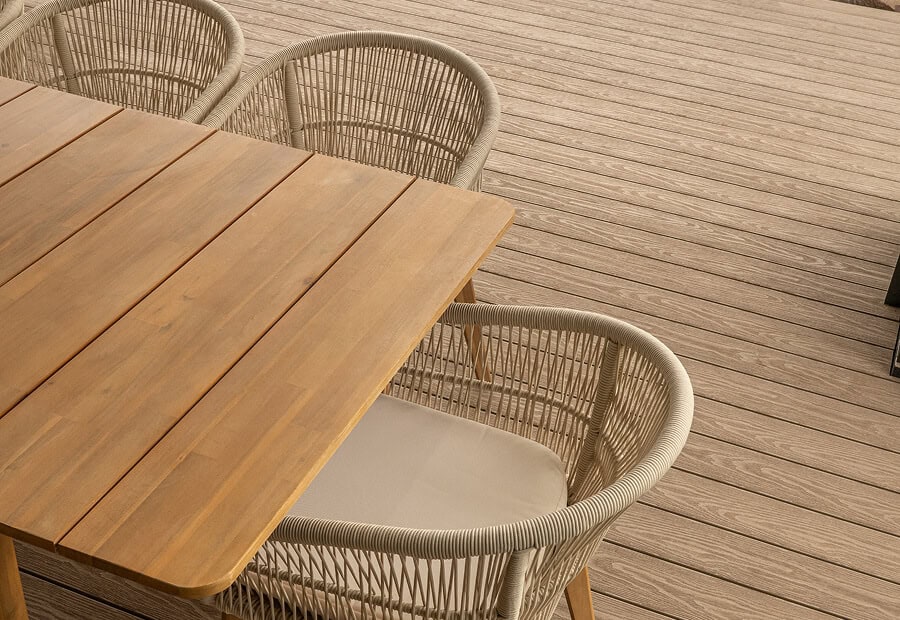
Thinking of building a new deck? Here’s what to keep in mind
Plenty of guides on how to build a deck show you how to lay boards and pour footings. Few explain why some decks last decades while others fail far earlier than expected. Rather than walking through every step of a build, this deck framing guide focuses on what catches most people out. The timber selection, decking thickness, treatment levels, and the installation details that tend to get skipped. These factors make the difference between a stress-free deck project and one that needs rebuilding within a few years.
A well-framed deck creates genuine living space and adds real value to a property, but the finished floor is only as good as what’s underneath it. Australia is a tough environment for outdoor timber, as coastal humidity, termite pressure, punishing UV and heavy rain mean the difference between a deck that lasts and one that doesn’t. Therefore, the decisions made at the hardware store often matter more than the ones made with tools.
Get to know the decking materials you’ll be using
Outdoor timber isn’t a general-purpose decking material. Each treatment level suits a specific set of conditions, and using the wrong one can take years off the life of a deck.
Australia’s timber treatment standard, AS/NZS 1604.1:2021, specifies how timber should be classified and used. For deck builders, the two main classifications are H3 and H4, and knowing where each belongs is one of the most important parts of building a deck properly.
H3 for above-ground applications
This suits timber that’s periodically wet but dries out between cycles, such as decking boards, handrails, pergola framing, and subframe at least 150mm above ground. Woodhouse Weatherproof LOSP-treated radiata pine, treated to H3, carries a 25-year warranty against fungal decay and termite attack when correctly installed.
H4 for on or near the ground
Within 150mm of ground level, rising soil moisture is constant and H3’s drying window doesn’t exist, so AS/NZS 1604.1:2021 requires H4 as the minimum for posts, stumps, and bearers and joists in low decks. Woodhouse TerraFrame is an MGP10-graded structural timber treated to H4 with Micronized Copper Azole (MCA), carrying a 50-year guarantee against fungal decay and termite attack.
The rule is simple. Use H3 above ground, use H4 within 150mm of it, and never leave timber untreated outdoors.
Choosing your decking boards
Once the treatment level is sorted, the next decision is what decking material sits on the frame. Thickness, width and species all work together here rather than being separate choices.
Decking thickness
Thickness comes first, since it decides how far boards can span between joists. Standard softwood decking is generally 19mm to 22mm actual thickness, with hardwood and premium profiles up to around 28mm. Thicker boards span further and feel more solid underfoot, but they also cost and weigh more, so check deck board thickness against your joist spacing before buying.
Board width
Width follows from there. Standard widths run 86mm to 140mm, and narrower boards handle moisture movement better than wide ones, making them the safer pick for low, close-to-ground decks.
Traditional wood
Material comes last. Traditional timber deck boards bring natural grain patterns, and species such as spotted gum (a hardwood) or cedar (a naturally durable softwood) carry natural oils that offer some inherent protection, though this doesn’t replace correct treatment underneath.
Composite decking
If low maintenance matters more than a natural timber finish, composite deck boards are worth considering as an alternative. It typically calls for 400mm joist centres rather than timber’s 450mm standard, so check that manufacturer’s own span tables before you frame, since a Woodhouse subframe still needs to suit whatever decking material ends up on top.
Understand your subframe
If timber choice is the most important decision, the subframe is the most important place to get it right. It’s out of sight once built, it’s where moisture collects, and it’s almost always where problems begin. A standard subframe has a few main components.
Support posts or stumps
The decking posts that transfer loads into the ground; set at the same level with a spirit level before anything else goes on top.
Bearers
Span across the posts and carry the joists.
Joists
Sit on the bearers and directly support the decking boards.
Ledger board
Where a deck attaches to the house rather than standing free on posts, fixed to the house frame and flashed correctly.
Wall plate
Used instead of a ledger board where a deck connects to a masonry wall.
For a visual breakdown of how these connect, refer to the Woodhouse TerraFrame Installation Guide.
Why joists are the common failure points in DIY decks
Joists sit where moisture accumulates most. Once decay sets in it moves fast, and because joists are hidden under the boards, it’s usually well advanced before anyone notices. A soft spot underfoot is often the first sign. Correctly treated timber at the framing stage is the most effective way to prevent this.
Spacing
Joists typically sit at 450mm centre-to-centre, with the first joist run hard against the house or ledger board. Composite decking often needs 400mm centres and additional blocking or double joisting, a doubled-up joist under any point where two boards butt together, so each adjacent joist has proper support. Add blocking between joists at corners too, for a more rigid feel underfoot.
Ventilation and low decks
Good ventilation beneath a deck reduces trapped moisture, and fascia boards should still allow airflow around the perimeter. Decks within 400mm of the ground need extra care. Narrower boards handle movement better in damp conditions, and pre-coating all faces and edges before installation helps reduce uneven moisture absorption. Leave a gap of at least 5mm along the edge of each board, and take account of drainage where the deck meets existing paving or a patio. Timber Queensland’s Technical Data Sheet 13 is a useful reference for low-to-ground alternatives to conventional joist-over-bearer framing.
Installation details that protect your investment
These installation details protect your investment once the timber is chosen. They’re small things individually, but skipping any is how moisture finds its way in.
Seal every cut
Cutting treated timber exposes raw wood that needs sealing immediately with a remedial in-can preservative, such as Dulux Timber End Sealer. Don’t rip-saw or resurface treated timber, as this removes the treatment layer and voids the warranty.
Use joist tape
A good joist tape on the tops of bearers and joists diverts water away from the framing. Woodhouse recommends VapourSeal sealing tape with TerraFrame products.
Get your fixings right
Use hot-dip galvanised nails and fasteners, and pre-drill holes near board ends to stop splitting, particularly with denser hardwoods. Use stainless steel in coastal areas or around pools.
Keep timber dry before installing
TerraFrame is kiln-dried to around 12% moisture content. Installing at or close to this level minimises the shrinkage and movement that happens as timber settles.
Leave the pest inspection gap
Keep a minimum 40mm clearance between the deck framing and any adjoining structure, during and after the build, so termite monitoring can still be accessed.
What to check before you sign off
- Subframe timber within 150mm of ground level treated to H4 or above.
- All cuts and penetrations sealed with a remedial preservative.
- Decking thickness and board width matched to joist spacing.
- Adequate cross-flow ventilation underneath the deck.
- Fasteners hot-dip galvanised, or stainless steel if coastal.
- The 40mm pest inspection gap in place.
- Decking boards pre-coated and gapped at a minimum of 5mm.
- Structure complies with AS 1684.2:2021 and local council requirements.
Once the deck is finished, keep an eye on it. Inspect for damaged boards or loose fixings each year and replace them promptly, since early repairs protect the longevity of the frame underneath.
Stronger deck builds begin with the right foundations
A long-lasting deck rarely comes down to one big decision. More often, it’s the combination of smaller choices made throughout the build, from the right treatment level and decking thickness through to protecting cut ends and allowing proper airflow beneath the structure.
Australian conditions are hard on outdoor timber, but when the right products are used in the right locations and the details aren’t rushed, a deck can perform well for decades. Woodhouse offers a range of treated structural and outdoor timber designed for Australian conditions, including H3 Weatherproof and H4 TerraFrame. Refer to the relevant installation guides, Australian Standards, and local council requirements before construction begins, and get in touch with the Woodhouse team for expert advice on your project.